Price enquiries with untold number of suppliers. Confirmation of provenance - foolish to start a project of this scale without being certain the boat is as described. Searching for drawings - that have not been found... If anybody can help? Drawing details to help me understand what I want better ( I tend to work a little more "seat of the pants"), so I can delegate work better. Research into other restorations to help with decisions about techniques.
And that is just at my end! Oscar has completely built a workshop, with a good floor and insulated so we can work through anything the Swedish winter can throw at us... Inside an historic barn. This while restoring his house, installing solar heating, maintaining his antique Jaquard loom - and weaving on it, and both of us running our businesses, and holding down a family life!
Anyway work started before christmas. I had a window of 4 days to "begin". My goal was to remove two of the steel ribs - to confirm how we would do it, and to get them to the fabricators so we could ensure that they could live up to their promises ( so as to not leave a cliffhanger - they did! In good time and to price, spec. and quality!).
This meant removing the toe-rails, covering-boards, and garboards. None of this was expected to be hard - just time consuming. Until I found the covering-boards and some of the toe-rails fixed with hand-made nails buried under plugs! Bugger!
Thankfully the wood being removed was never going back onto the boat - so I could be a little brutal - out with the hole saw, cut around the nail, then remove the fastenings after the boards were away.
Then start cutting the fastenings on the ribs I had chosen. I chose two of the short ribs running from the turn of the bilge into the keel - as these are in the first stage of the replacement and would allow us to develop a routine. The steel is overlapped by a wooden rib that continues to the deck. The overlap is about 8cm and hides a rivet... Only one route - cut the rib to get at the rivet and get the steel out in one piece. We will have to scarf a new tale onto all these wooden ribs - 36 in all! This I will make a little longer, and stagger the scarfs to spread the load... More work! But I can make a jig to cut the the scarfs, so it shouldn't be too many more days.

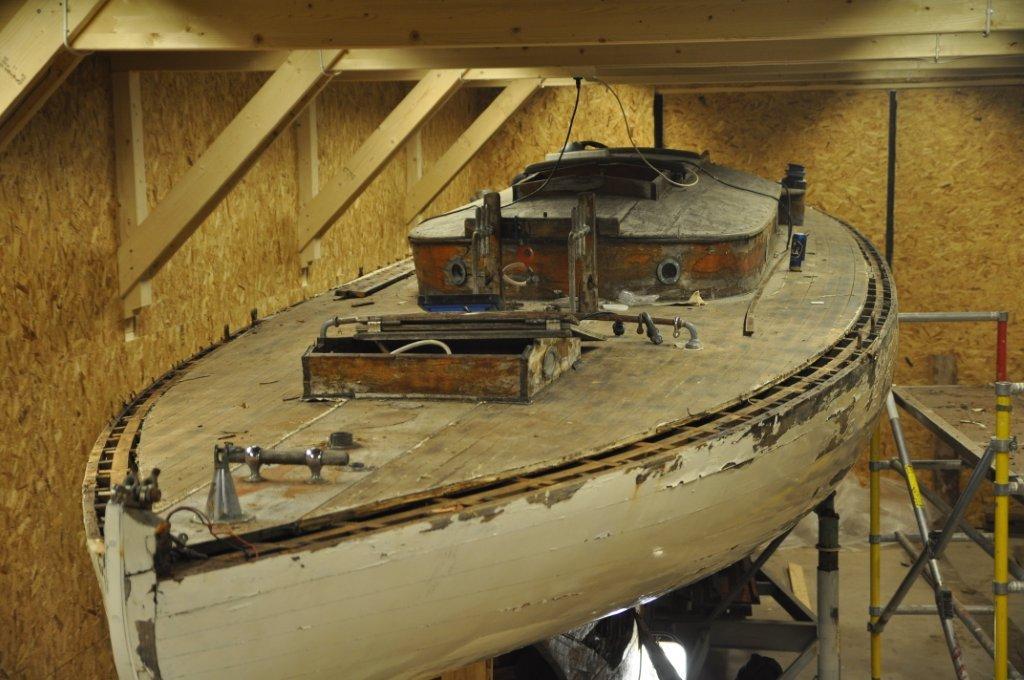
Finally getting ready to work

Some of our extra "help"

The covering boards on their way - notice the plugs left in the sheer-clamp hiding the bloody nails.


Before and after at deck level

Inspecting the mess after removing the port garboard

Not for the faint hearted - but at least it gives me a good excuse to carve up a nice bit of oak!
Inga kommentarer:
Skicka en kommentar